Article below is a part of the assembly process of the UHF duplexer – main article is HERE.
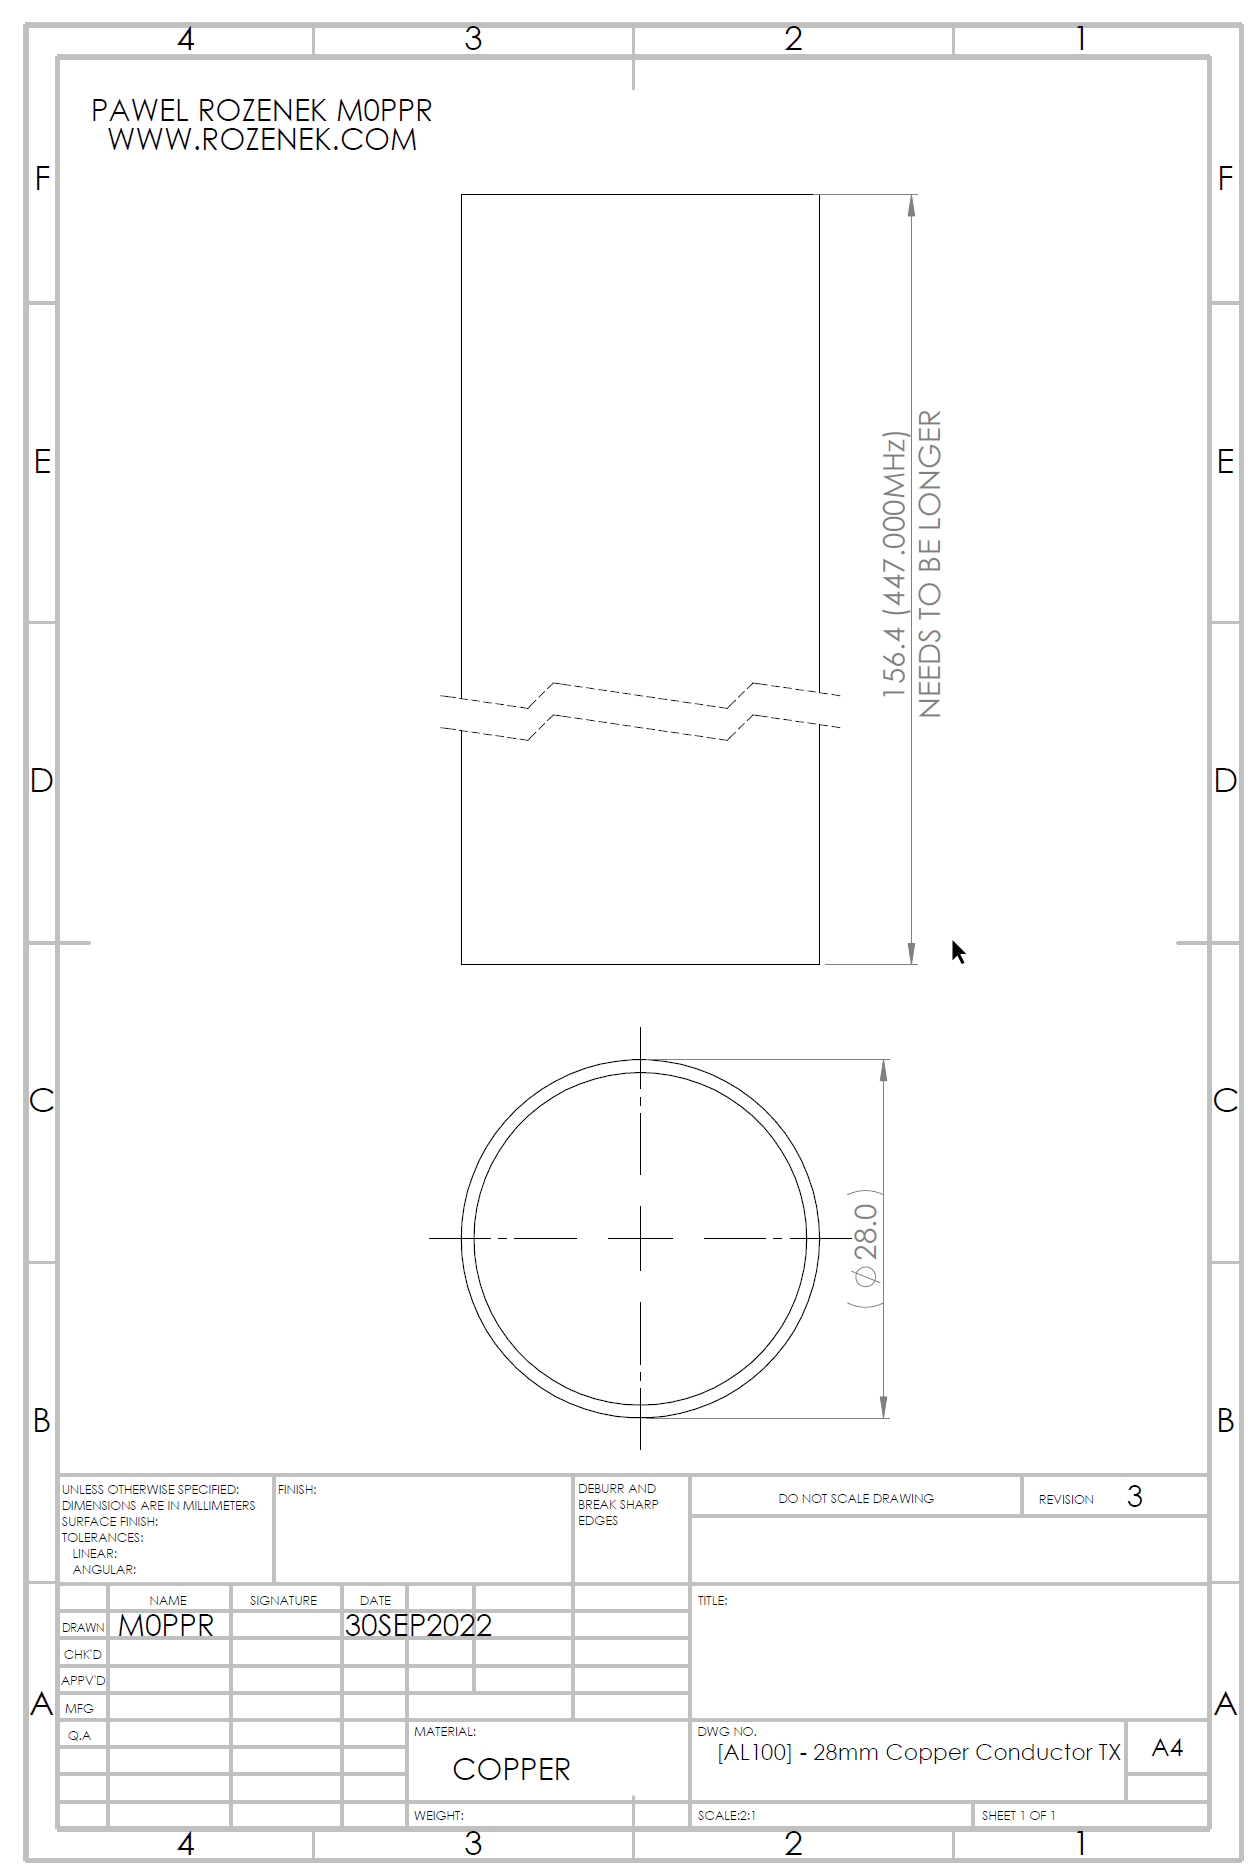
Drawing below shows a [AL100] – 28mm Copper Conductor made of copper tube cut to the correct length.
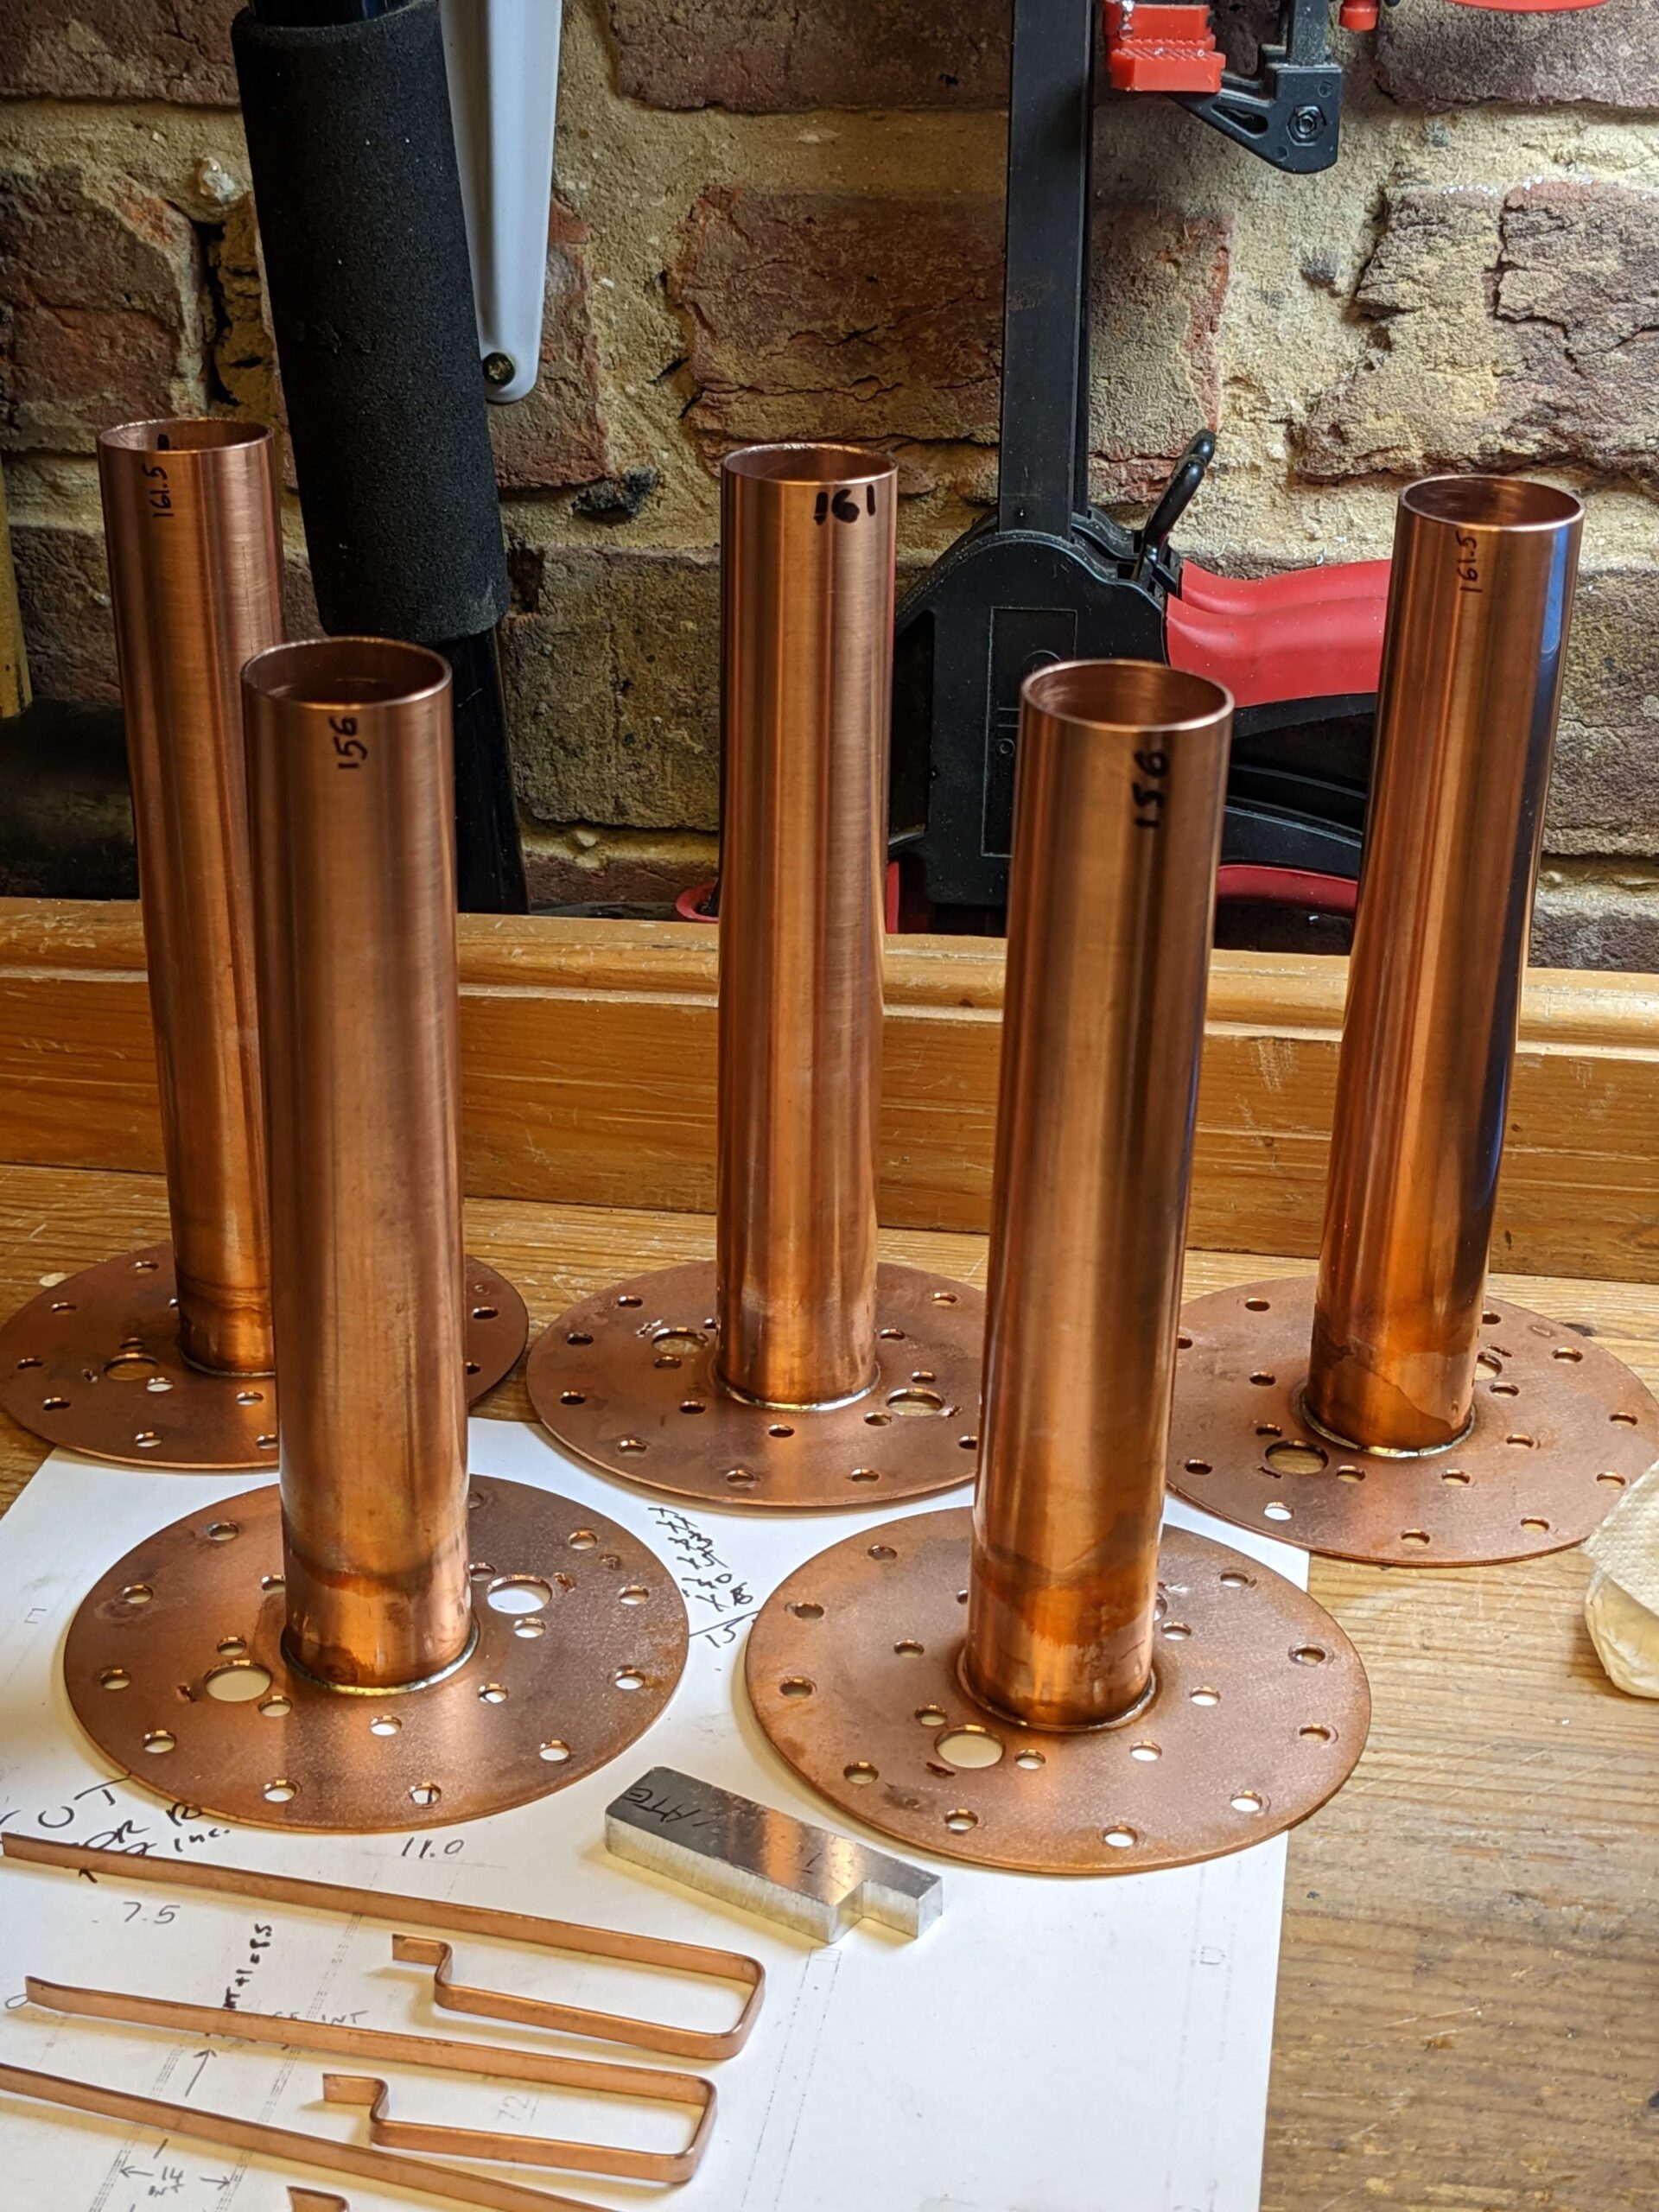
Main purpose of the part: the conductor settles a desired frequency. I was hoping, after setting up correct length for 28mm Copper Conductor RX, that the safest length is 156.4mm which I expected that it will set up the frequency to roughly 440.000MHz.
For some reasons 156.4mm length brought the resonance frequency way higher than I expected. Unfortunately 156.4mm long conductor sets up resonance frequency to about 447.000MHz – but to do not panic – the final tuning can l be done by the copper rod TX at the end plate bottom side! The only one problem is when the conductor resonance frequency is too low – it means you have to chop off a bit from it.
Generally I found that every 1mm changes the resonance frequency of the duplexer cavity roughly by 2.3MHz.
*** I will probably soon exchange the copper TX conductor with the new one, longer 3mm, which will be 159.4mm, to get the resonance closer to 439.7125 MHz.
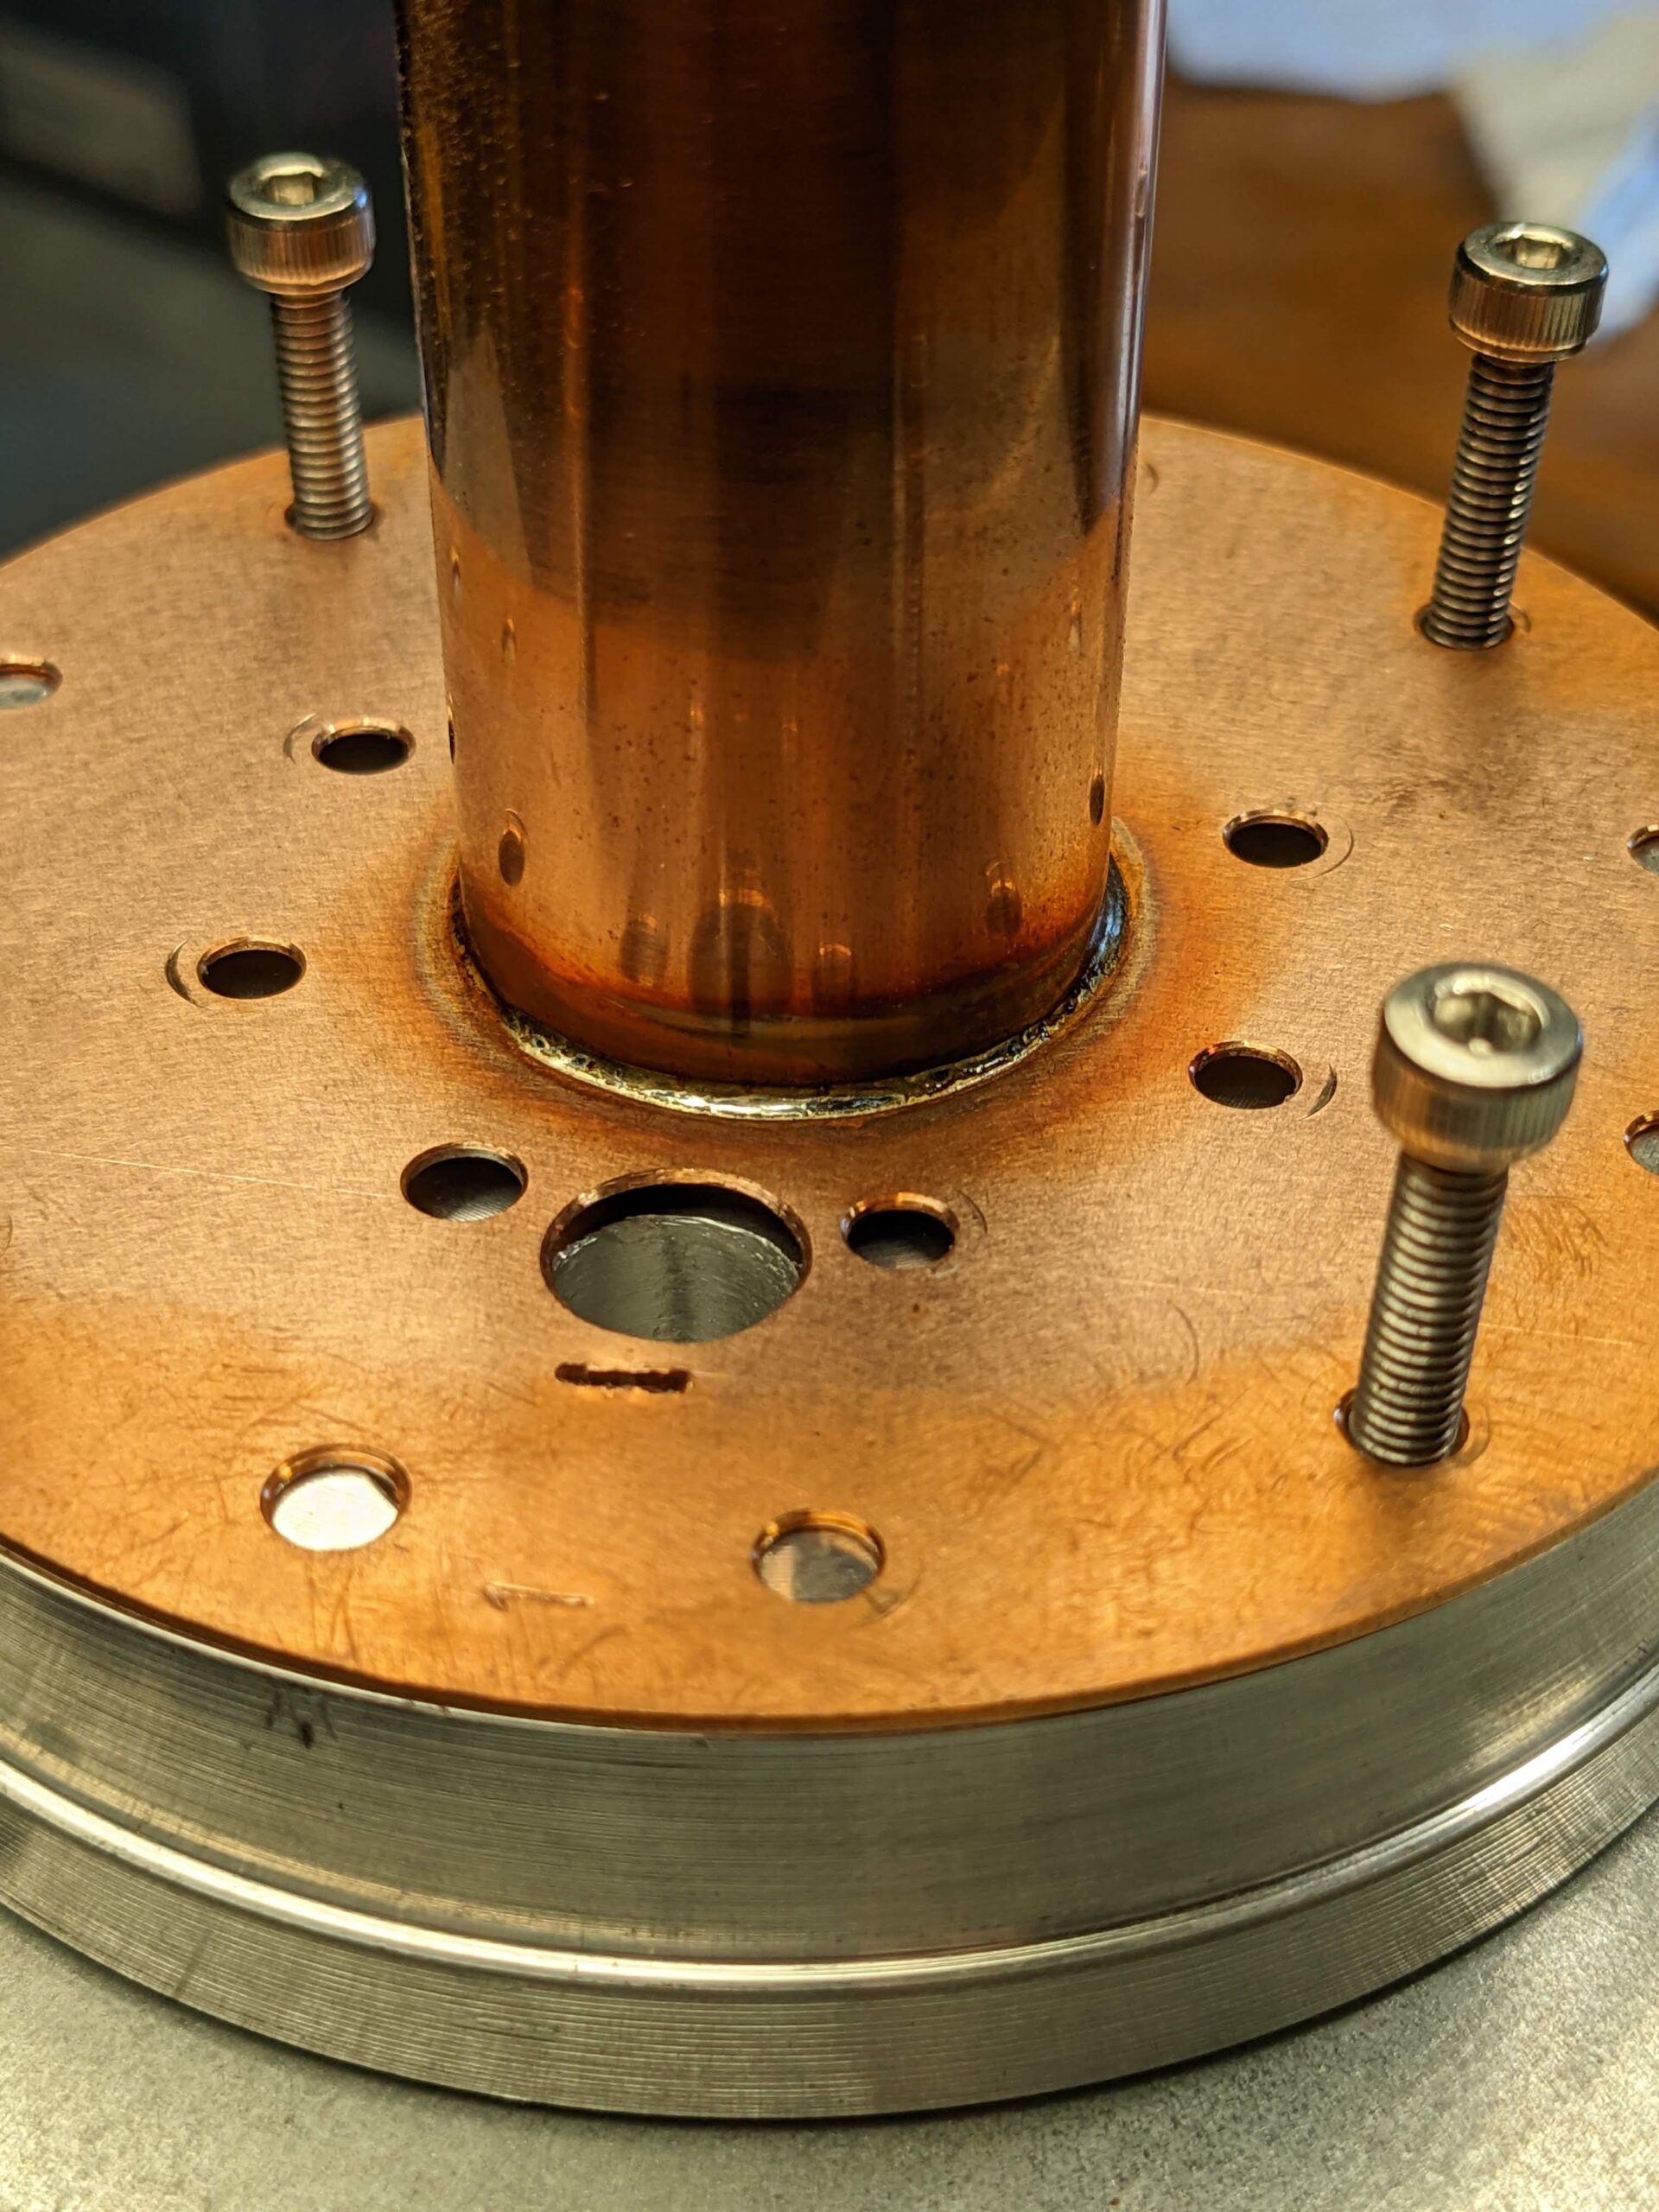
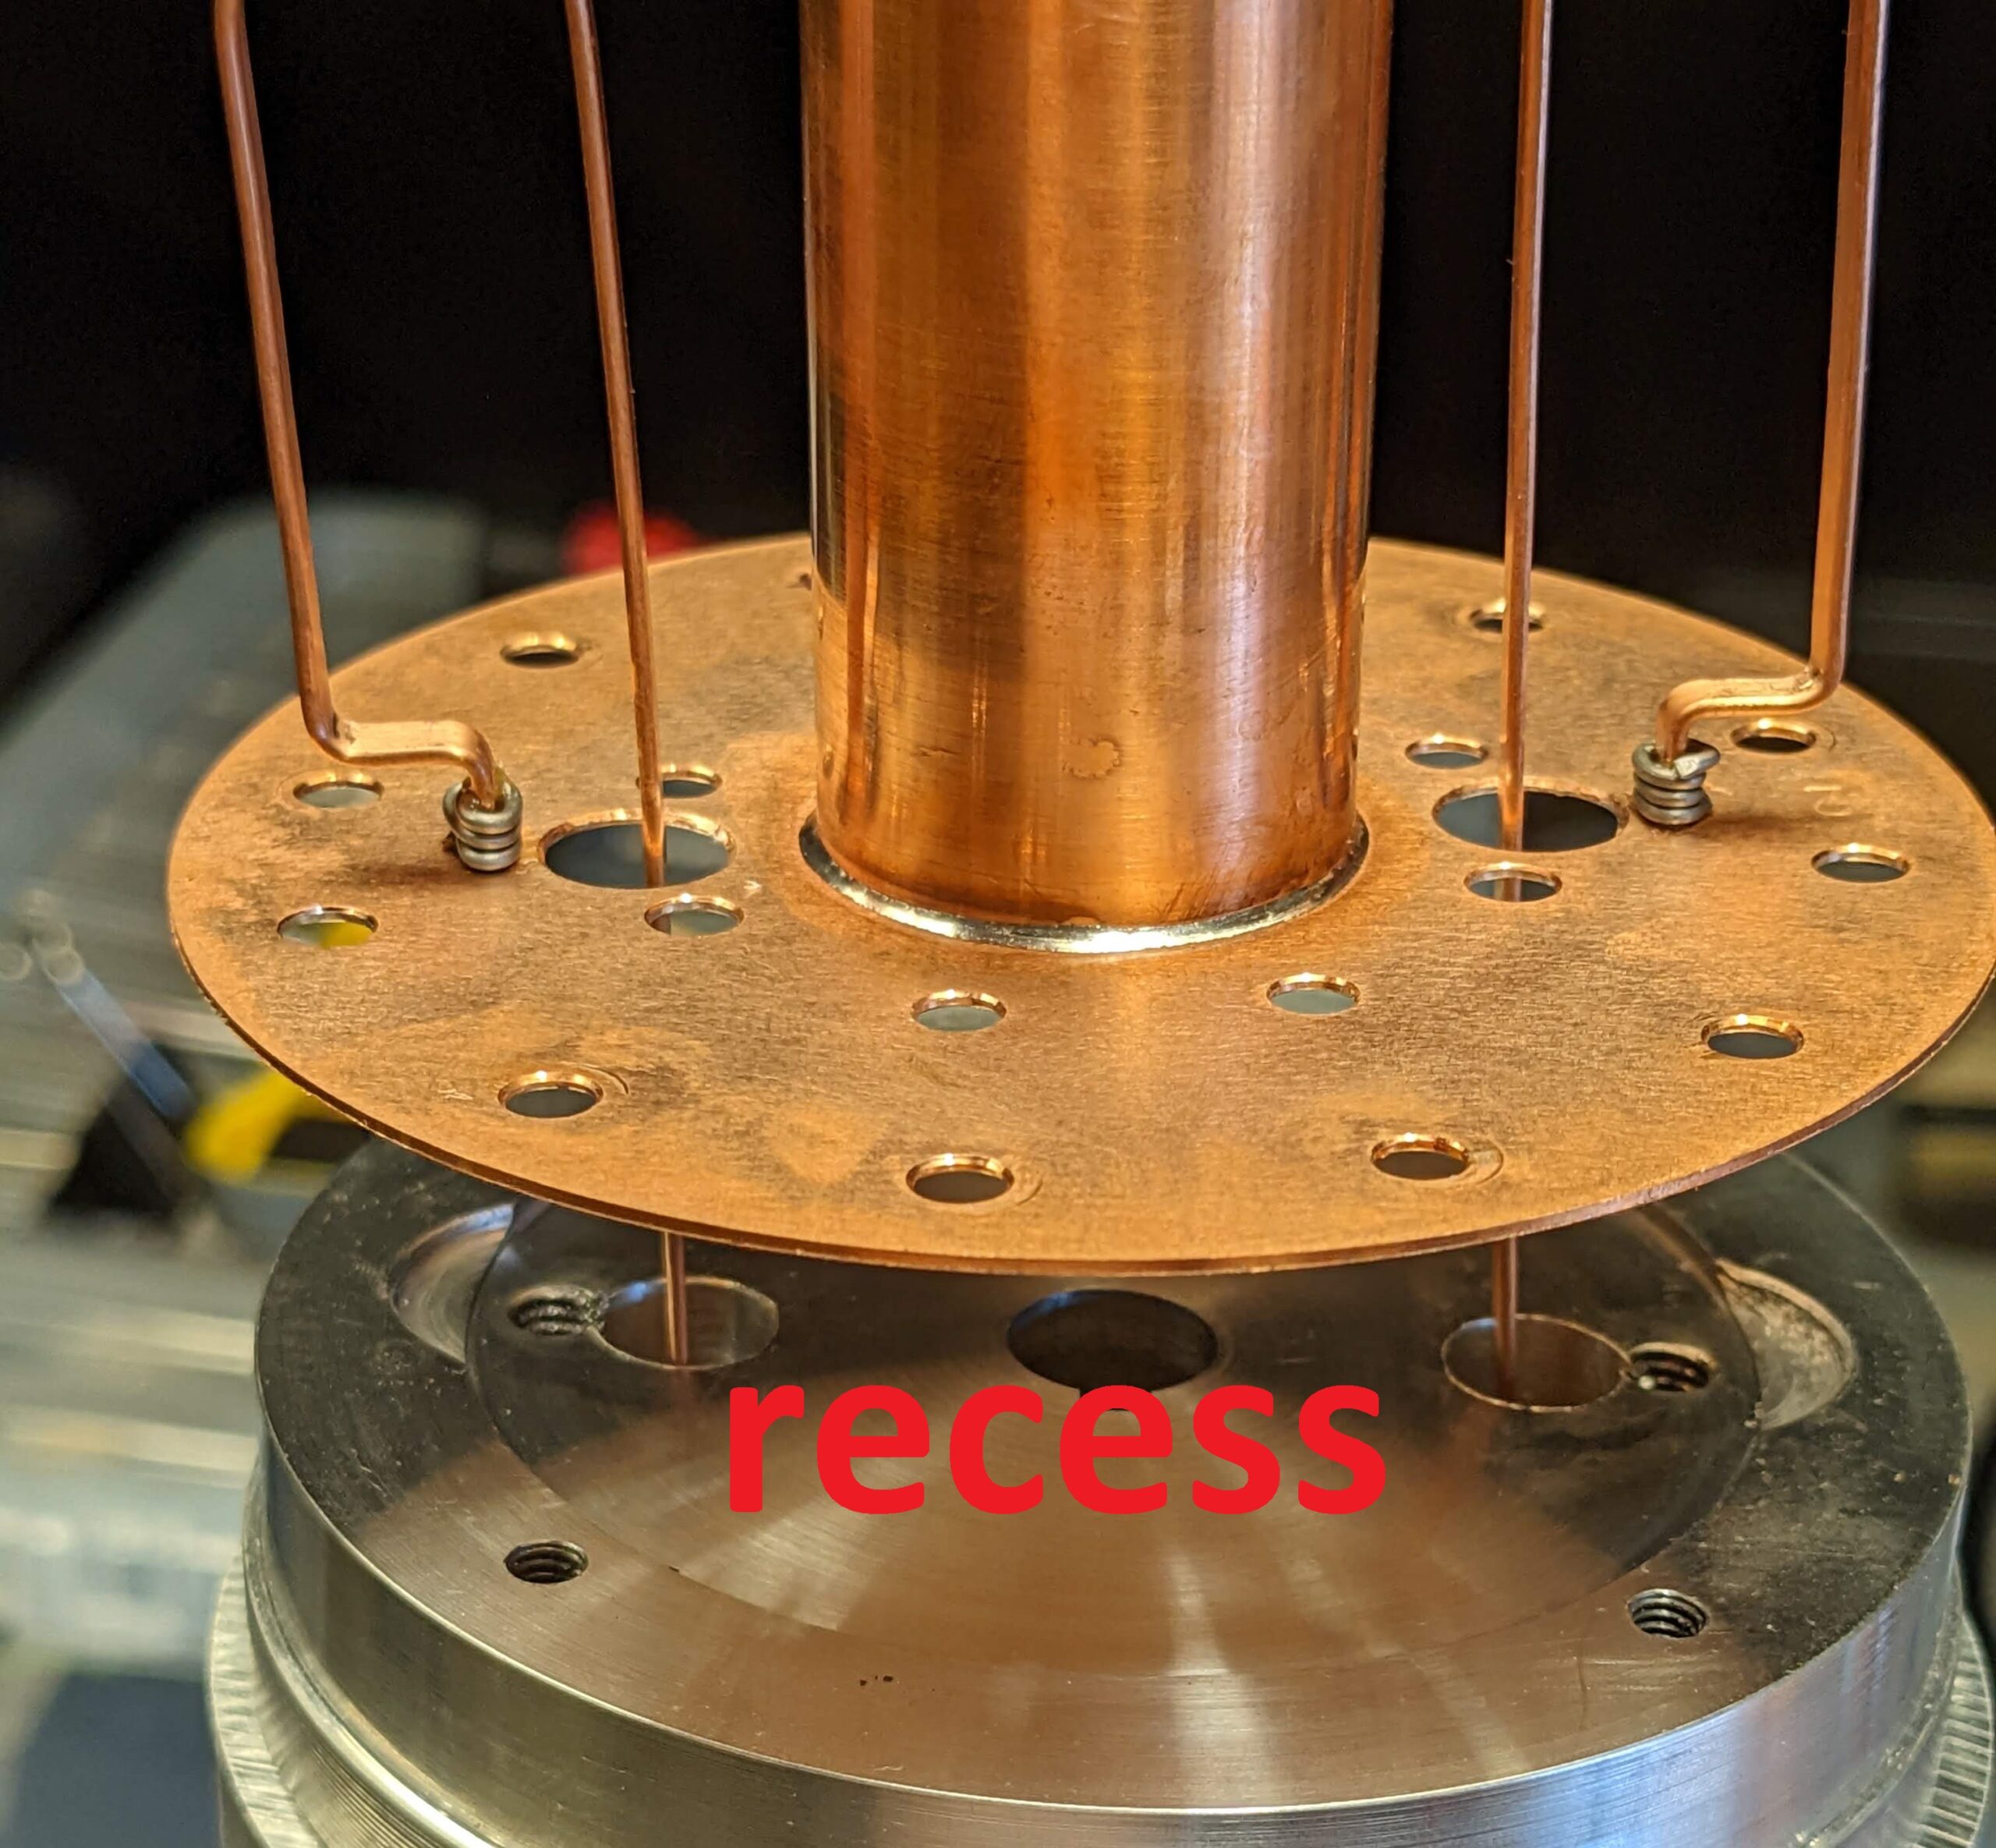
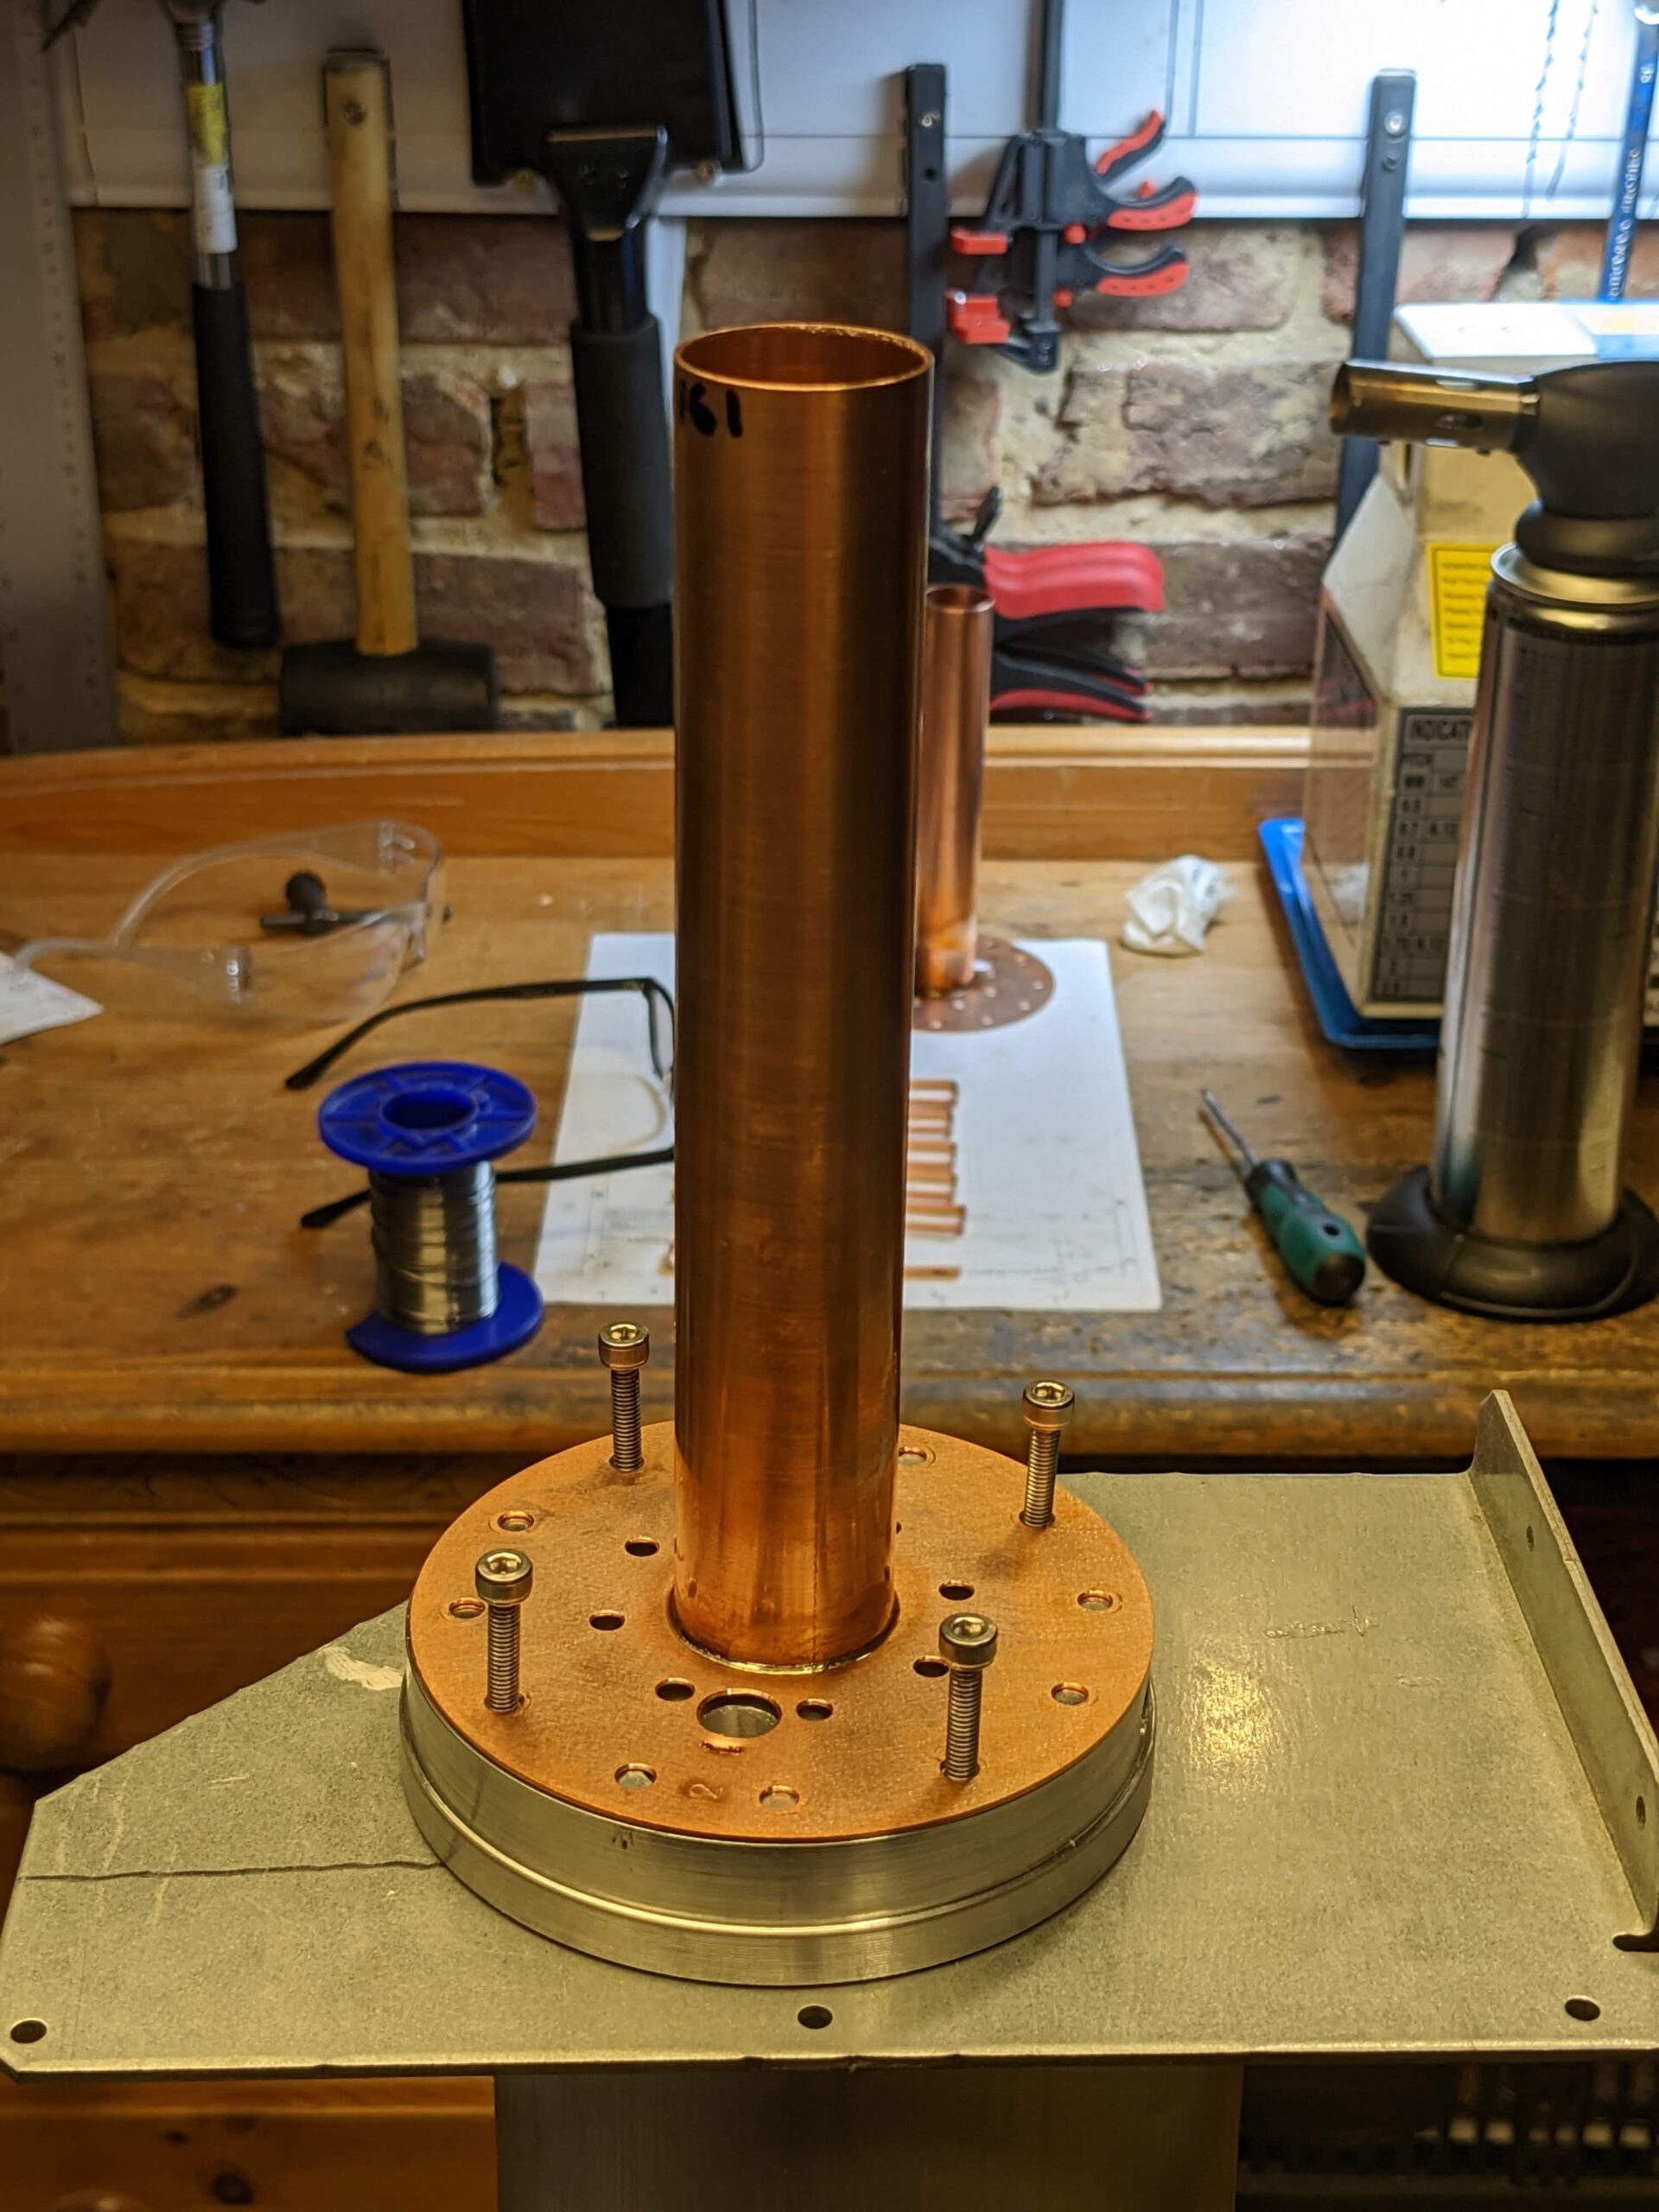
Soldering the copper conductor to the plate is achieved by using a special jig. If the plate lies on a metal surface, the heat from a gas plumbing welder will get dispersed. The jig will also help with soldering coupling loops.
Google Pixel 5 (4.38mm, f/1.73, 1/89 sec, ISO48)